This tutorial will help you to activate 2 Step Verification in Gmail to add additional security to your Gmail account. You might have aware that over 5 Million Gmail passwords has been leaked on Sep 9th, 2014 and according to Google there is no need to worry ‘It’s not a big deal. But there was buzz on internet that more than 60% leaked passwords were active.
I am sure that you never want your Gmail account to be hacked or checked by anyone else. Therefore it’s a good idea to change your Gmail passwords now. I suggest you to not only change your password but also activate 2 Step Verification option in your Gmail. 2 Step Verification adds additional security to Gmail account to make it stronger again hack vulnerabilities.

Step by step Guide to Enable 2 Step Verification in Gmail
2 Step Verification service is absolutely free and easy to use. You only need to have a working mobile number, doesn’t matter from which country you belong. After activation of this service, Google will sent you a security code on you mobile whenever you will Sign-in into Gmail. Following steps will guide you to activate 2 Step Verification in Gmail.
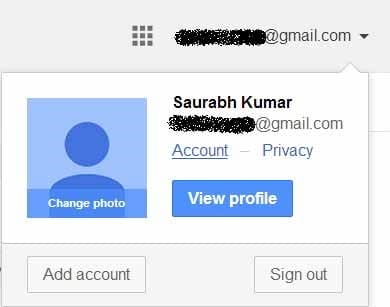
Step 1 – Login into your Gmail account, Click on the Account link given in your profile summary as shown in picture.

Step 2 – It will automatically redirect you to your profile page in a new window as shown in below picture. You need to enter your Gmail id and password again for security reasons. Now select Security option from available links.

Step 3 – You will find your 2 Step Verification status Disable and a Setup link right next to the 2-Step Verification in Password block. Click on Setup link.

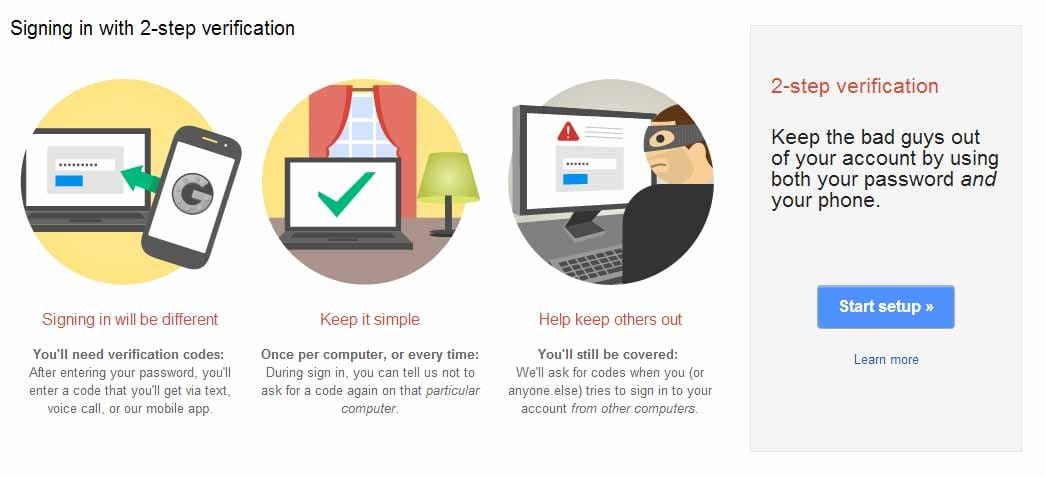
Step 4 – And you will redirect to Signing in with 2 Step Verification page. Hit Start Setup button as shown in below given figure.

Step 5 – As I shared in introduction you need to provide a working mobile number to activate 2 Step Verification service. Enter your mobile number and select an option either Text Massage (SMS) or Voice Call to receive a onetime 6 digit numeric code (as shown in figure) and hit Send Code button.

Step 6 – You will receive a SMS or call from Google, Now enter verification code in verify your phone section. And click on Verify link as shown in figure. If you didn’t receive a code yet, you can go back and repeat Step 5 or click on the link Didn’t get the code?

Step 7 – You will redirect to Trust this computer section, Select Trust this computer option if you want to. I recommend to choose this option if you are using your personal computer to activate 2 step verification, otherwise uncheck this box. Click on the Next button as show in figure.

Step 8 – This is the last step to setup 2 Step Verification. Click on the Confirm button and you are done.

After your confirmation, Google will ask you to reconnect your apps and devices associated with your Google id (Gmail id). You can choose from reconnect my apps or do this later options. If you choose to reconnect your apps, you need to Sign-in again in your associated apps and devices i.e. You need to Sign-in again into your android device associated with this Google account.

And this will redirect you to your 2 Step Verification page. You will find your primary mobile number and other verification details and options. You can also Turn off 2 step verification from this page.

Hope this tutorial will help you to secure your information and emails from spammer and hackers. Share your suggestions and feedback in comment section below.
Also Read: Gmail Passwords Leaked – Google declares No breach in Google Systems


Nice article but what about unsupported countries how can a user (tips) activate two step verification